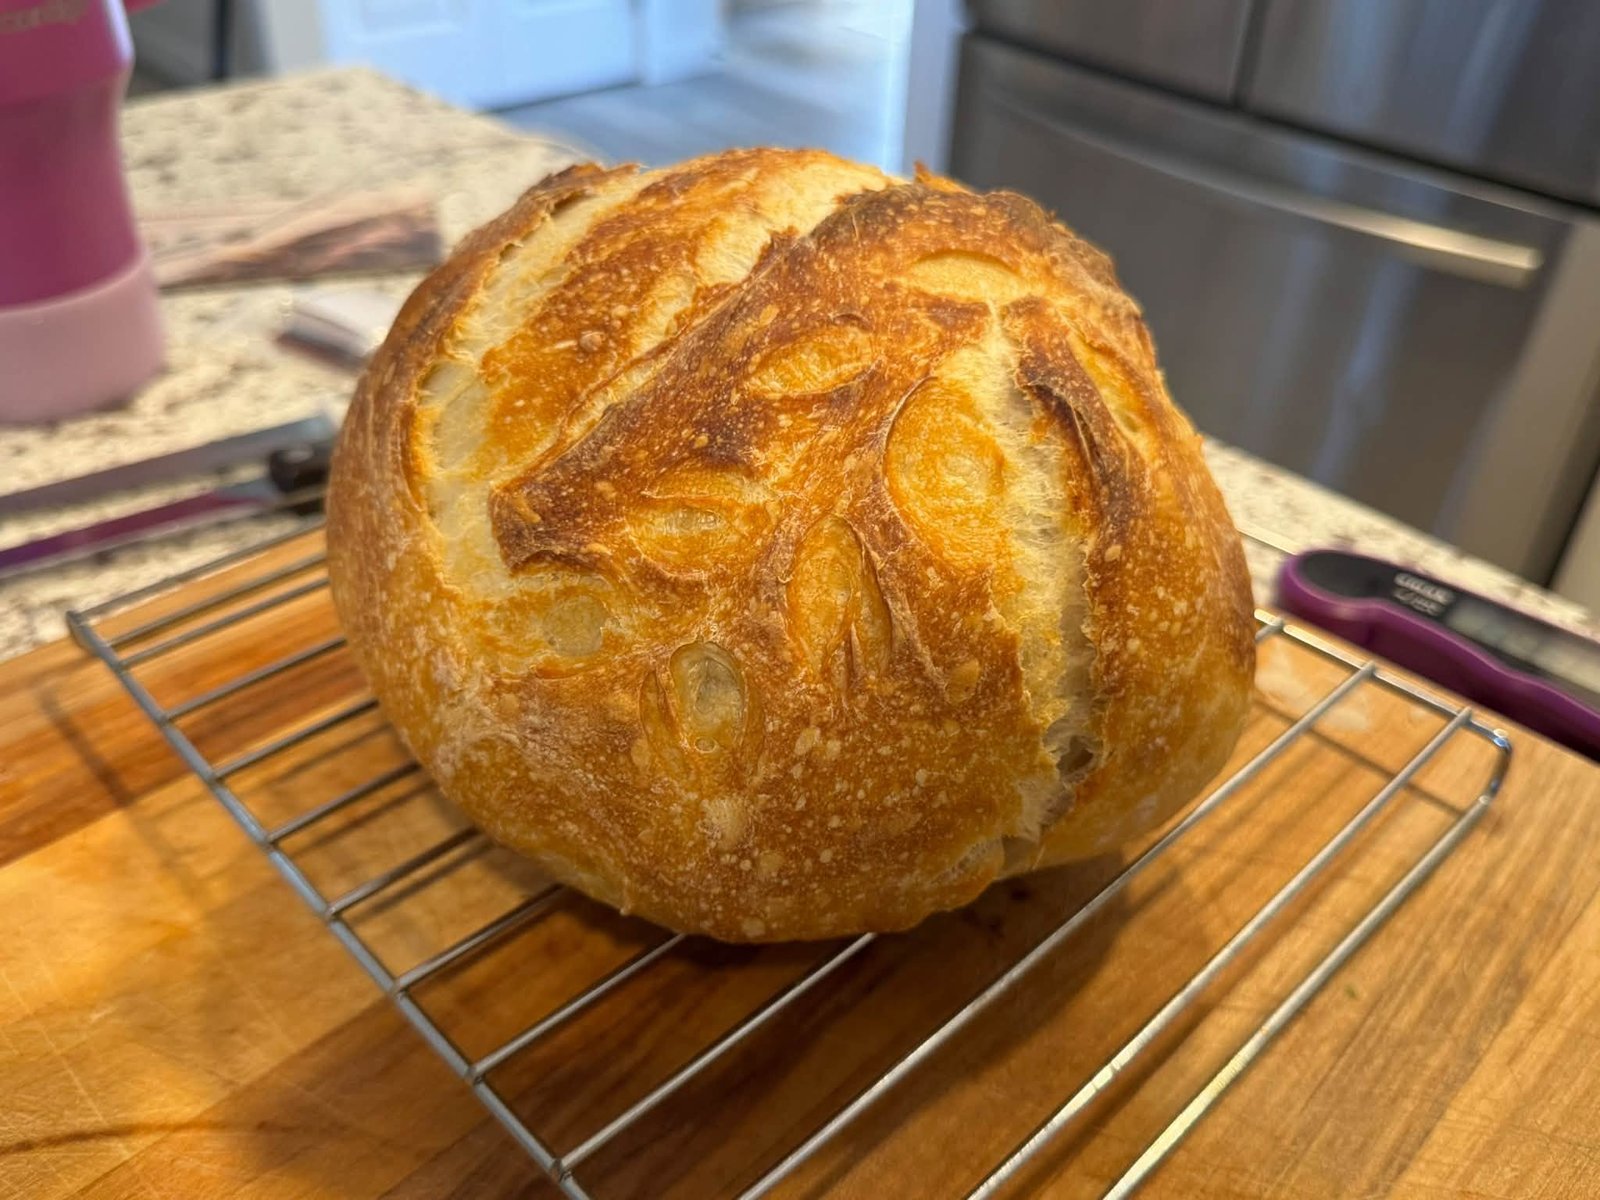
There is something incredibly satisfying about pulling a beautiful loaf of homemade bread from the oven. The crackly golden crust, the warm aroma filling the kitchen, and that soft, airy interior make every minute of preparation worthwhile. This rustic artisan loaf has a wonderfully crisp crust and a tender, slightly chewy crumb, making it perfect for sandwiches, toast, dipping into soup, or simply eating warm with butter.
The loaf in the photo has a classic rustic appearance: a deeply golden crust, an irregular crumb with plenty of small and medium air pockets, and a hearty shape that looks straight out of a traditional bakery. The recipe below is designed to produce a similar style of bread using simple pantry ingredients.
Rustic Artisan Bread
Prep Time: 25 minutes
Resting & Rising Time: 12–18 hours
Bake Time: 40–50 minutes
Total Time: About 13–19 hours
Yield: 1 large loaf
Ingredients
- 500 g (about 4 cups) bread flour
- 375 g (1½ cups) lukewarm water
- 10 g (1¾ teaspoons) salt
- 2 g (½ teaspoon) instant yeast
For a slightly more flavorful loaf, you can replace 50–75 g of the bread flour with whole-wheat flour. Bread flour is preferable because its higher protein content helps create a strong gluten network and gives the finished loaf its chewy texture.
Step 1: Mix the Dough
Start by adding the flour, instant yeast, and salt to a large mixing bowl. Give everything a quick stir so the ingredients are evenly distributed.
Pour in the lukewarm water gradually while mixing with a wooden spoon, dough whisk, or your hands. Continue mixing until there are no obvious patches of dry flour.
Don’t worry if the dough looks rough or sticky at this stage. Rustic bread dough is supposed to be quite wet. Avoid adding lots of extra flour, because doing so can make the finished loaf dense.
Cover the bowl with plastic wrap, a reusable cover, or a clean kitchen towel.
Let the dough rest for about 30 minutes.
Step 2: Develop the Gluten
Instead of kneading this dough for a long time, use a series of gentle stretches and folds.
With slightly wet hands, grab one side of the dough, stretch it upward, and fold it over the center. Turn the bowl and repeat on all four sides.
Complete one set of stretches and folds every 30 minutes for the first 2 hours.
You’ll notice an impressive transformation. At first the dough will feel sticky and loose, but after several rounds it should become smoother, stronger, and more elastic.
This step is especially important for creating the irregular air pockets visible in the sliced loaf.
Step 3: Let the Dough Rise
After your final stretch and fold, cover the bowl again and leave it at room temperature.
Depending on the temperature of your kitchen, the first rise may take approximately 4–6 hours. You don’t necessarily need the dough to double in size. Look for an increase of roughly 50–75%, along with visible bubbles around the edges and a noticeably lighter, more aerated appearance.
For deeper flavor, you can place the covered dough in the refrigerator and let it ferment overnight. A long, cool fermentation gives the bread additional flavor and makes this an excellent recipe to prepare the evening before baking.
Step 4: Shape the Loaf
When the dough has finished its first rise, lightly flour your work surface.
Gently turn the dough out onto the counter. Try not to aggressively punch down or knead it, because you want to preserve the bubbles that have developed during fermentation.
Fold the edges toward the center, then flip the dough over so the seam is underneath.
Using your hands, gently drag the dough toward yourself across the counter. Rotate it and repeat several times. This creates surface tension, which helps the loaf hold its shape while baking.
Shape the dough into a round or slightly oval loaf.
Place it seam-side up into a well-floured proofing basket or a bowl lined with a heavily floured clean kitchen towel.
Step 5: Final Proof
Cover the shaped dough and allow it to proof for approximately 45–90 minutes at room temperature.
The exact time will depend on your kitchen temperature and how active your yeast is.
You can test the dough by gently pressing it with a fingertip. If the indentation slowly springs back but doesn’t completely disappear immediately, the loaf is generally ready to bake.
For even more flavor, you can refrigerate the shaped loaf overnight and bake it directly from the refrigerator the next day.
Step 6: Preheat Your Dutch Oven
Place a Dutch oven with its lid inside your oven and preheat to 230°C / 450°F for at least 30–45 minutes.
A properly preheated Dutch oven is one of the secrets to achieving the beautiful crust seen on a rustic loaf.
The covered pot traps steam released from the dough during the first part of baking. That steam keeps the crust flexible, allowing the bread to expand dramatically before the crust becomes firm.
Step 7: Score and Bake
Carefully remove the hot Dutch oven.
Turn your dough onto a piece of parchment paper. Using a very sharp knife or bread lame, make one decisive slash across the top of the loaf.
You can keep the design simple or create decorative scoring patterns.
Carefully lower the dough into the hot Dutch oven and immediately cover it with the lid.
Bake at 230°C / 450°F for 25 minutes with the lid on.
Then remove the lid, reduce the temperature to 220°C / 425°F, and bake for another 15–25 minutes, or until the loaf is a rich golden brown.
If you like a particularly crunchy crust, leave it in for a few additional minutes.
Step 8: The Most Important Step—Let It Cool
As tempting as it is to cut into a freshly baked loaf, try to wait.
Transfer the bread to a wire rack and allow it to cool for at least 1 hour, preferably longer.
The interior continues cooking and setting as the loaf cools. Cutting too early can cause the crumb to become gummy, even if the crust looks perfectly baked.
Once cooled, use a serrated bread knife to slice through the loaf.
You should have a crisp, golden exterior surrounding a soft, chewy crumb with a beautiful assortment of small and medium-sized air pockets.
Tips for Perfect Rustic Bread
Don’t add too much flour
Sticky dough can be intimidating, but extra flour can quickly turn an airy loaf into a heavy one. Wet your hands instead when handling the dough.
Watch the dough, not the clock
Fermentation depends heavily on room temperature. A warm kitchen can make the dough rise much faster than a cool kitchen.
Use a kitchen scale
Bread is much more consistent when ingredients are measured by weight. Even small differences in flour and water can significantly change dough hydration.
Give it time
The overnight fermentation is where much of the flavor develops. Slow fermentation produces bread with a deeper, more complex taste.
Get the oven very hot
A thoroughly preheated Dutch oven provides the intense initial heat and steam necessary for excellent oven spring and a crisp crust.
How to Serve This Bread
This rustic loaf is incredibly versatile. Serve thick slices with salted butter for a simple breakfast, or toast it and top with eggs, avocado, tomatoes, or cheese.
It is also wonderful alongside soups and stews because the sturdy crust and chewy crumb are perfect for soaking up broth. For a quick snack, drizzle toasted slices with olive oil and sprinkle with flaky salt.
And if you happen to have leftovers, don’t throw them away. Day-old slices make excellent French toast, croutons, breadcrumbs, or grilled cheese sandwiches.
Final Thoughts
Making artisan bread at home doesn’t require complicated equipment or professional baking skills. The key ingredients are simply flour, water, salt, yeast, time, and a little patience.
The beautiful loaf pictured here is a great example of what makes rustic bread so appealing. It doesn’t need to look perfectly uniform. The irregular shape, golden crust, and naturally varied crumb are part of its charm.
Once you’ve made this recipe a few times, you can start experimenting with whole-wheat flour, roasted garlic, herbs, seeds, olives, or even a sourdough starter. But honestly, this simple version is hard to beat: crackly on the outside, soft and chewy inside, and absolutely delicious while still slightly warm.

Leave a Reply