Unloaf Sourdough Bread: Rustic, Crusty, and Naturally Fermented
Ingredients
To make this delicious Unloaf Sourdough Bread, gather the following ingredients. Each one plays an important role in flavor, structure, and fermentation. Use fresh and high-quality ingredients for the best results.- Active sourdough starter: 100 grams (make sure it is bubbly and strong)
- Bread flour: 400 grams
- Whole wheat flour: 100 grams
- Water (room temperature): 350 milliliters
- Salt: 10 grams
- Olive oil (optional): 1 tablespoon for a softer texture
- Cornmeal or extra flour: for dusting the surface
- If you do not have a kitchen scale, you can use cups, but weighing the ingredients gives more consistent results.
How to Make Unloaf Sourdough Bread
Follow these steps carefully to make the perfect Unloaf Sourdough Bread, even if this is your first time baking sourdough. Take your time with each stage. Patience is the secret ingredient.Step 1: Feed Your Starter
If your starter has been stored in the fridge, take it out and feed it with equal parts flour and water. Let it sit in a warm place for about 4 to 6 hours, or until it becomes bubbly and active. A strong starter ensures that your bread rises beautifully and develops that lovely sourdough flavor.Step 2: Mix the Dough
In a large bowl, combine 350 milliliters of water with the 100 grams of active starter. Stir until the starter dissolves in the water. Then add both types of flour — bread flour and whole wheat flour. Mix with your hands or a wooden spoon until everything is just combined. The dough will look rough and shaggy at this stage, and that is completely fine.Step 3: Rest (Autolyse)
Cover the bowl with a clean towel and let the dough rest for about 30 to 45 minutes. This rest allows the flour to fully absorb the water and helps gluten begin to form naturally. The dough will become easier to work with afterward.Step 4: Add Salt
After the resting time, sprinkle the salt over the dough. Wet your fingers and gently squeeze the dough to mix in the salt evenly. You can fold the dough a few times to help incorporate it fully.Step 5: Stretch and Fold
For the next 2 hours, perform a series of gentle stretches and folds every 30 minutes. To do this, grab one side of the dough, stretch it upward, and fold it over the center. Turn the bowl and repeat this on all four sides. This step helps develop gluten and gives the dough strength, which is important for holding its shape later.Step 6: Bulk Fermentation
After the last fold, cover the bowl and let the dough rest at room temperature for about 4 to 5 hours. The dough should expand and feel airy. You will notice small bubbles forming on the surface. The exact time depends on the temperature of your kitchen — warmer rooms will make it rise faster.Step 7: Shape the Dough
Once the dough has doubled in size, it is time to shape it. Lightly flour your work surface and gently transfer the dough onto it. Be careful not to deflate it too much. Shape the dough into a round or oval loaf by folding the edges toward the center and turning it seam-side down. Place it in a floured proofing basket or bowl lined with a clean towel.Step 8: Final Proof
Cover the dough and let it rest again for about 2 to 3 hours at room temperature, or overnight in the refrigerator for a deeper flavor. When it is ready, the dough should feel slightly puffy and hold its shape when gently pressed.Step 9: Preheat the Oven
Place a Dutch oven or baking pot inside your oven and preheat it to 230 degrees Celsius (450 degrees Fahrenheit). Preheating helps create steam that makes the crust beautifully crisp.Step 10: Score and Bake
Carefully transfer the dough onto parchment paper and make a shallow cut across the top using a sharp knife or razor. This helps control how the bread expands while baking. Place the dough into the hot pot, cover it, and bake for 20 minutes. Then remove the lid and bake for another 20 to 25 minutes until the crust turns golden brown and crackly.Step 11: Cool Completely
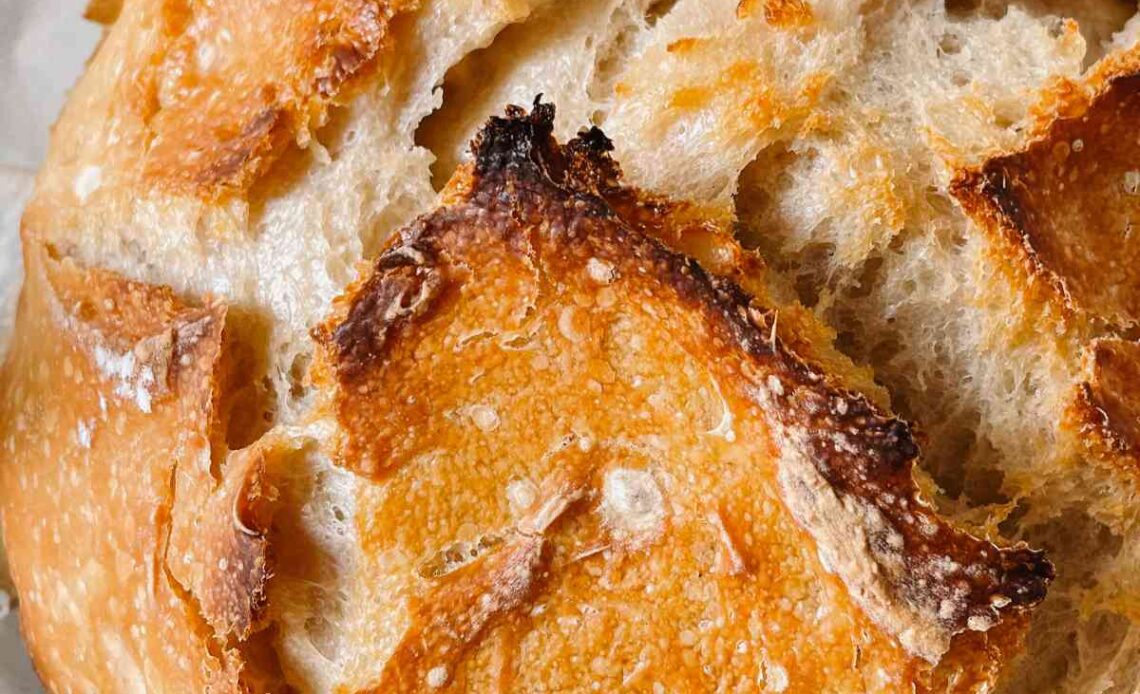
Remove the bread from the oven and let it cool completely on a wire rack before slicing. Cutting it too early can make the inside gummy. Once cooled, slice and enjoy the soft, chewy crumb with a crisp outer crust.Why This Recipe Is Special
Unloaf Sourdough Bread is more than just bread. It is a symbol of patience, care, and creativity. Every loaf is unique because it depends on your environment, your starter, and your hands. The long fermentation process not only gives the bread a wonderful flavor but also improves its nutrition. The natural bacteria in sourdough help pre-digest the flour, making the bread easier to digest and friendlier to the stomach. This bread has no added sugar or preservatives. It is made from pure, real ingredients that nourish the body and provide long-lasting energy. The balance of white and whole wheat flour gives it a pleasant flavor with a hint of nuttiness. The crust is crispy and full of aroma, while the inside stays soft and moist. It pairs well with everything from butter to cheese, soups, and even sweet spreads like honey or jam. For fitness lovers, Unloaf Sourdough Bread offers steady energy without the sugar spikes that come from commercial bread. For families, it is a wholesome choice that children can enjoy daily. For food lovers, it is a canvas for creativity — you can add seeds, herbs, or even dried fruits for a different touch each time. That is what makes it truly special.Tips for Better Taste
- Use a strong starter — Make sure your sourdough starter is active and bubbly. A weak starter can lead to flat or dense bread.
- Control the temperature — Sourdough fermentation depends on warmth. If your kitchen is cold, let the dough rise longer or place it in a slightly warm spot.
- Experiment with flour types — Try mixing in rye or spelt flour for new flavors and textures.
- Add flavor extras — Mix in chopped olives, roasted garlic, sunflower seeds, or dried herbs for variety.
- Do not rush the proofing — Slow fermentation builds stronger gluten and better taste.
- Use a Dutch oven — Baking in a covered pot helps trap steam, creating a perfect crust.
- Let it cool fully — Resist the temptation to cut it early. Cooling completes the cooking process inside.
- Store properly — Wrap the bread in a clean kitchen towel and keep it at room temperature. It stays fresh for about three days.
Final Thoughts
Unloaf Sourdough Bread is a wonderful reminder of how simple ingredients can create something truly special. The process may take time, but it rewards you with flavor, texture, and a sense of achievement that no store-bought bread can match. It is not just about baking; it is about slowing down, connecting with the food you eat, and enjoying every step of the journey. Every loaf tells a story of patience and care. From feeding your starter to shaping the dough, you are part of a tradition that has been passed down for centuries. Whether you are baking for family, friends, or yourself, this bread brings warmth and comfort to every table. Try it once, and you may find yourself baking it again and again, discovering new joys each time.Nutrition Details
Below is an approximate nutritional breakdown for one serving of Unloaf Sourdough Bread, assuming the loaf is divided into 12 slices.| Nutrient | Per Serving | Whole Loaf |
|---|---|---|
| Calories | 160 kcal | 1920 kcal |
| Carbohydrates | 30 g | 360 g |
| Protein | 6 g | 72 g |
| Fat | 1.5 g | 18 g |
| Fiber | 2 g | 24 g |
| Sodium | 190 mg | 2280 mg |
| Natural Sugars | 0.5 g | 6 g |
| Iron | 6% DV | — |
| Calcium | 2% DV | — |


