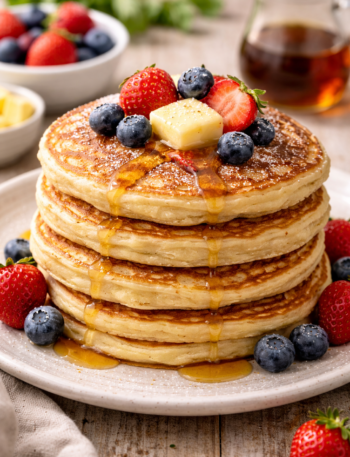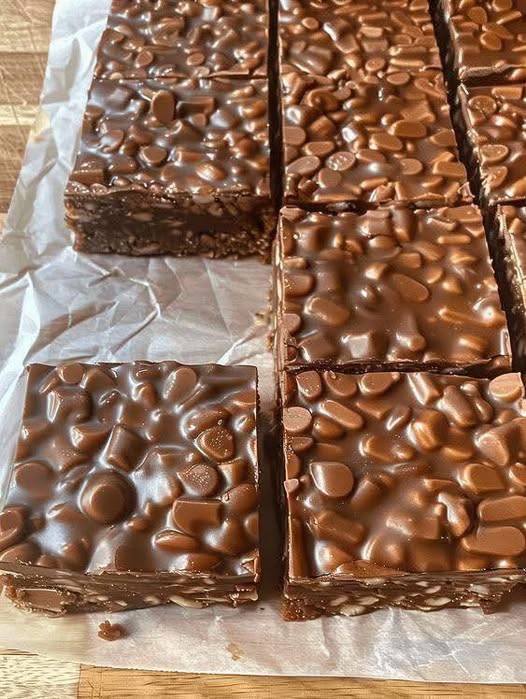
No-Bake Peanut Butter Crunch Bars
🛒 Ingredients
For the Peanut Butter Layer
- 1 cup (226g) unsalted butter, melted 🧈
- 1½ cups (375g) peanut butter (smooth or crunchy) 🥜
- 2 cups (240g) powdered sugar, sifted
- 4 cups (112g) Rice Krispies cereal 🍚
- 1 teaspoon vanilla extract
For the Chocolate Topping
- 1½ cups (255g) milk chocolate chips 🍫
- ½ cup (125g) peanut butter 🥜
- ½ cup (85g) mini chocolate chips
📝 Method
Step 1: Prepare Your Pan
Choose a 9×13-inch pan for standard bars, or an 8×8-inch pan if you prefer them thicker. Line the entire pan with parchment paper, leaving extra paper hanging over the sides. This makes lifting the bars out simple and mess-free later. Set aside.
Step 2: Melt the Butter
Place the butter in a large microwave-safe bowl. Heat in 30-second bursts, stirring between each round, until fully melted. The butter should be smooth and liquid, but not bubbling. Let it cool slightly for about a minute.
Step 3: Blend Butter, Peanut Butter & Vanilla
Stir the peanut butter into the warm melted butter until silky and glossy. Add the vanilla extract and mix again until fully combined with no streaks remaining.
Step 4: Mix in the Powdered Sugar
Gradually add the powdered sugar, stirring after each addition. The mixture will thicken as you go. Continue mixing until smooth, creamy, and evenly blended. Scrape down the sides of the bowl to ensure everything is incorporated.
Step 5: Add the Cereal
Gently fold in the Rice Krispies. Stir carefully to coat each piece without crushing them. The mixture should look evenly combined with no dry cereal visible.
Step 6: Press into the Pan
Transfer the mixture into the lined pan. Press it down firmly and evenly using a spatula or the back of a spoon. Make sure the surface is compact and level. Refrigerate while preparing the topping.
Step 7: Make the Chocolate Topping
In a clean microwave-safe bowl, combine the milk chocolate chips and peanut butter. Heat in 30-second intervals, stirring each time, until melted and smooth. Be careful not to overheat. Let the mixture cool slightly for a minute or two.
Step 8: Spread the Chocolate Layer
Remove the chilled base from the refrigerator. Pour the melted chocolate mixture over the top and spread evenly with a spatula, covering the entire surface.
Step 9: Add Mini Chocolate Chips
Sprinkle the mini chocolate chips over the melted topping. Gently press them into the surface so they stick as the chocolate sets.
Step 10: Chill Until Firm
Place the pan back in the refrigerator for at least 2–3 hours, or until completely firm. This step ensures the bars slice neatly and hold their shape.
Step 11: Slice the Bars
Lift the set mixture out using the parchment paper overhang. Transfer to a cutting board and slice into squares or bars using a sharp knife. Wipe the blade between cuts for clean edges.
Step 12: Serve & Store
Your no-bake peanut butter crunch bars are ready to enjoy! Store leftovers in an airtight container in the refrigerator to keep them fresh and firm.